Dashboard
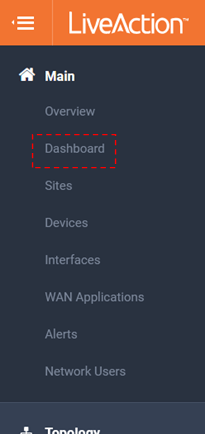
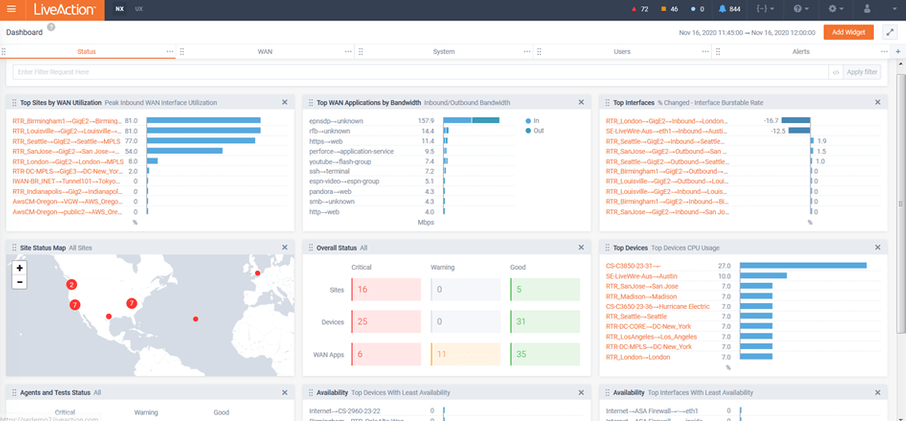
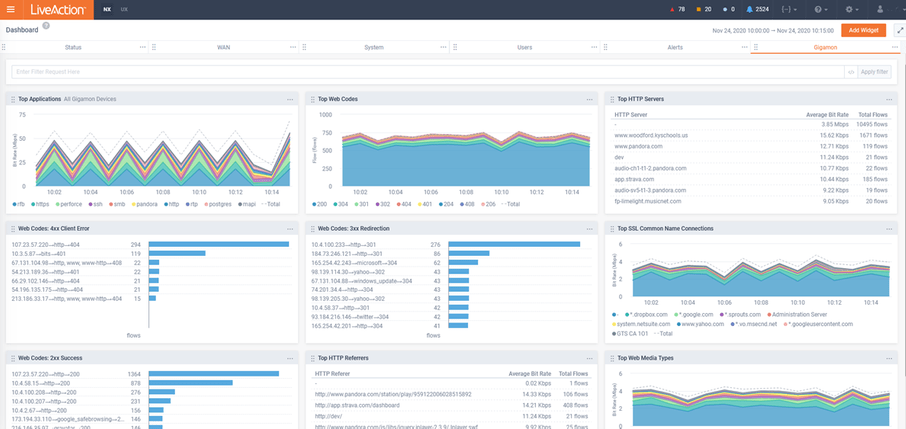
The LiveNX Dashboard provides quick navigation and exploration of the health and performance of the network and application running on it. Dashboards are a collection of widgets that are can be customized and organized as desired. Each user can have up to 12 tabs of dashboards.
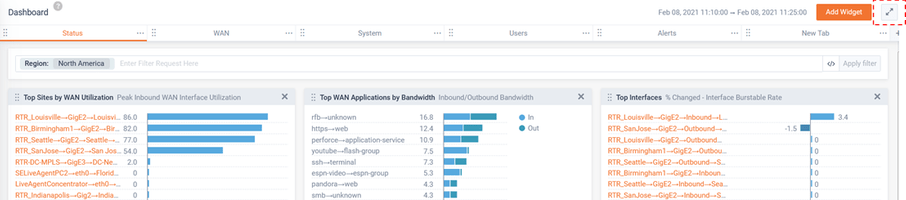
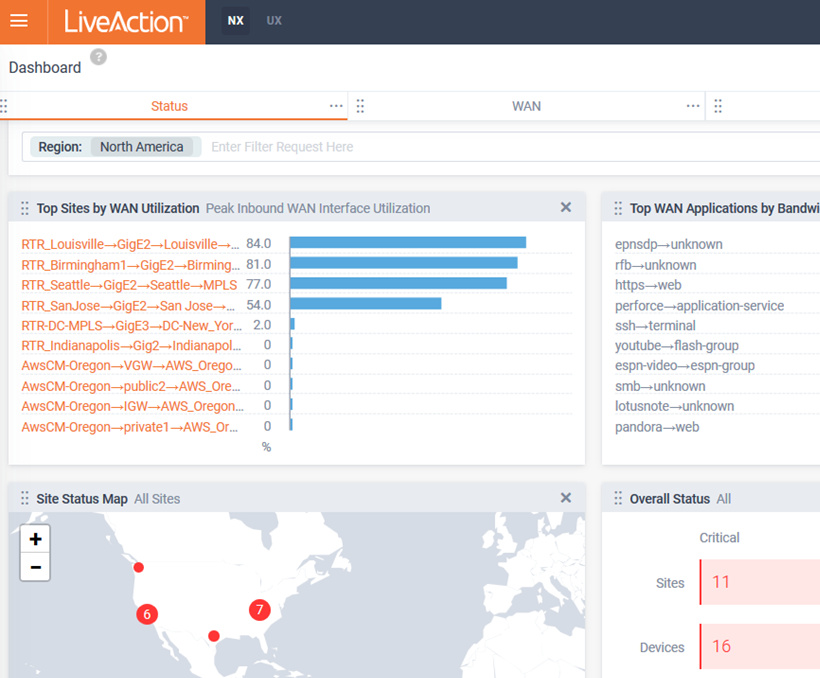
Filters can be applied to focus on the specific data set of interest:
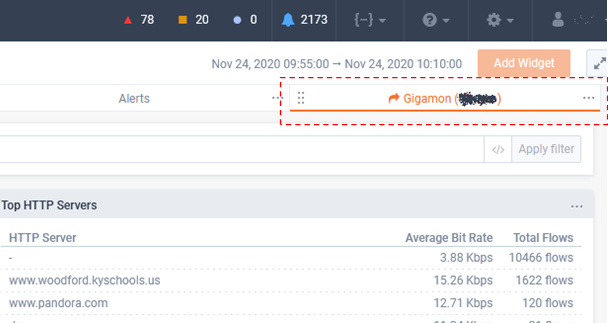
In this example, a filter of Region: North America has been applied. All widgets on this Dashboard tab will only present data relevant to the devices in this region.
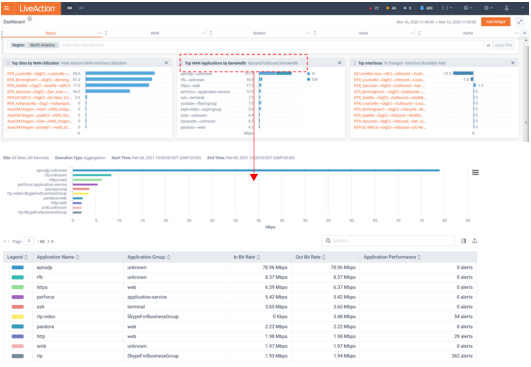
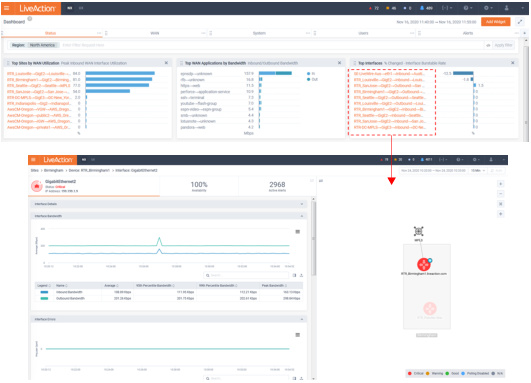
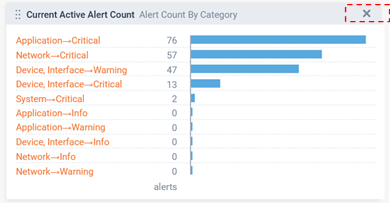
Many widgets are interactive. By clicking on a widget's header or data, many will drill-down to a corresponding historical report or Entity page for data:
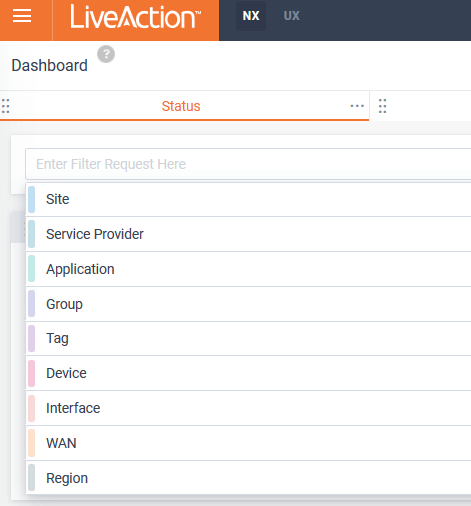
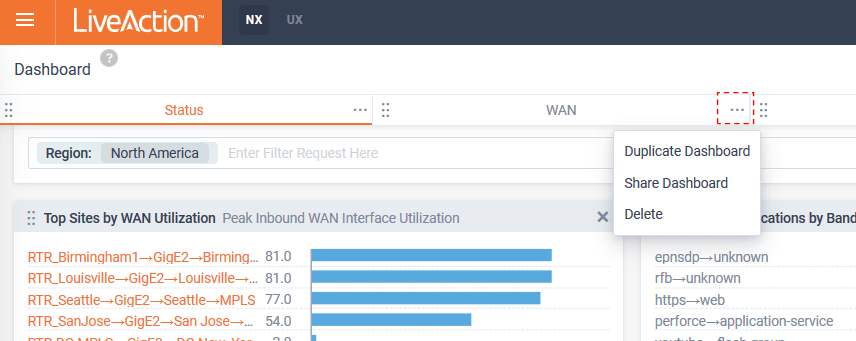
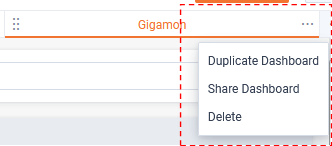
By Selecting the Dashboard tab’s menu, the tab can be duplicated, shared or deleted.
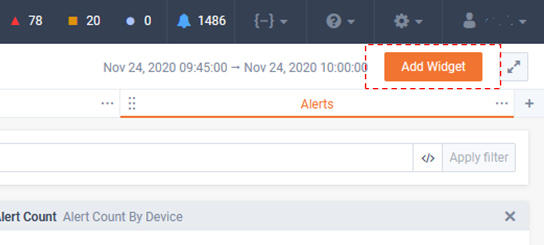
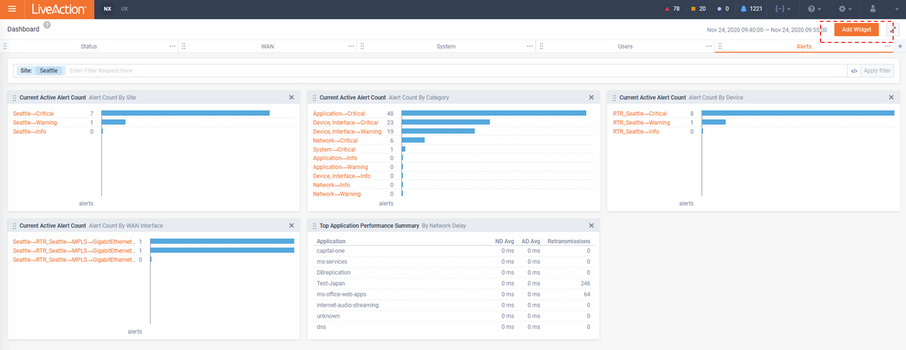
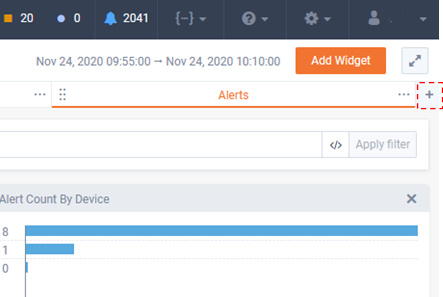
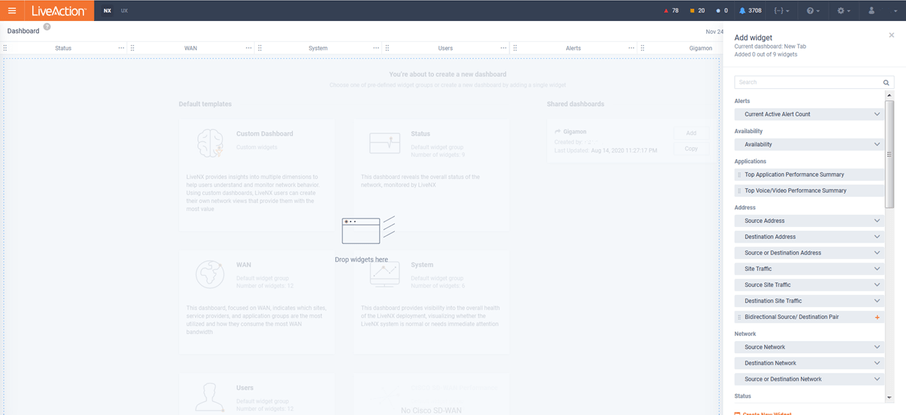
New widgets can be added to a Dashboard tab by clicking the button at the top right of the page.

In the following example a default widget will be added to the Dashboard tab:
1. Click the button.
2. Click the Add icon next to the widget of interest.
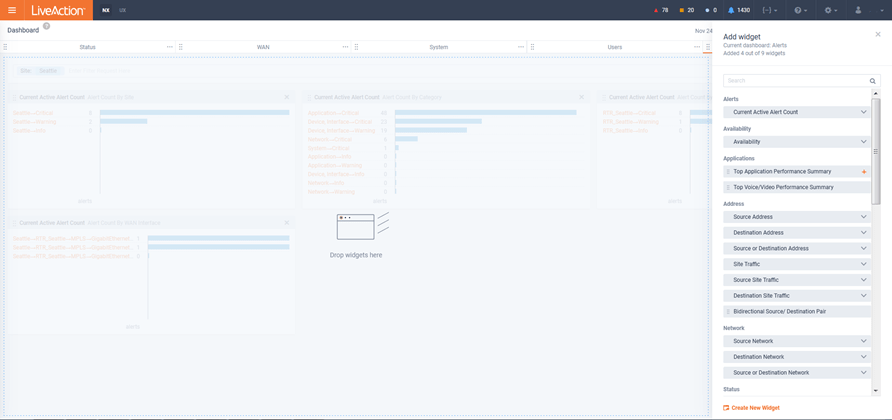
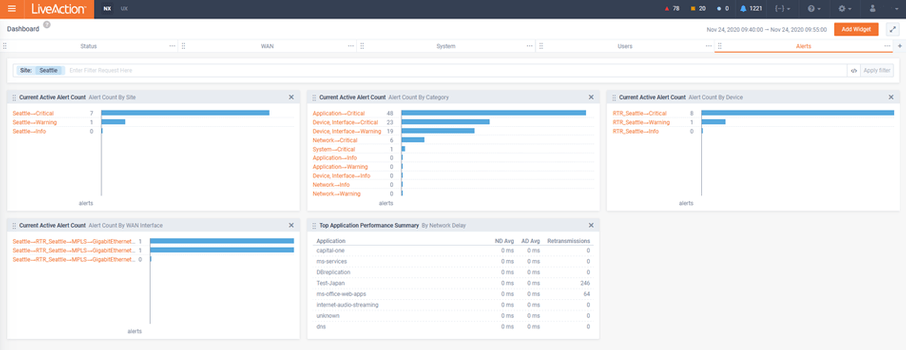
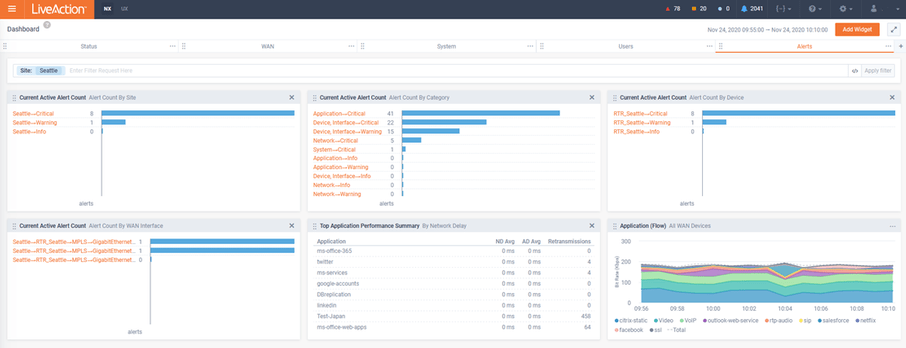
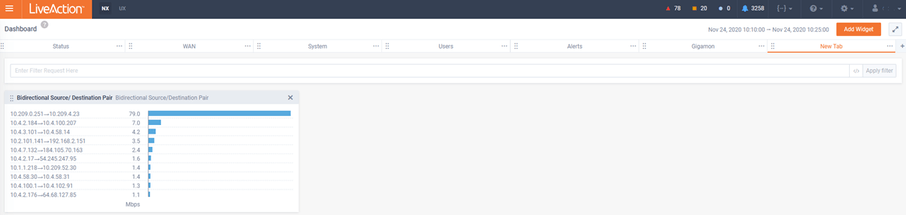
3. The new widget will appear on the Dashboard tab.
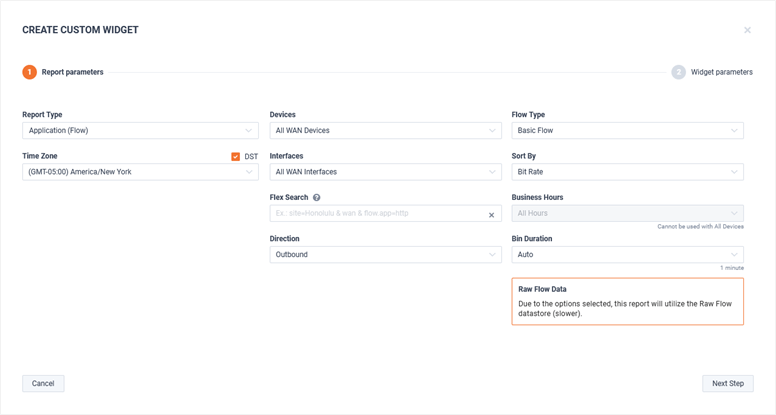
In the following example a new custom widget will be created and added to the Dashboard tab.
1. Click the button.
2. Click Create New Widget link at that bottom of the Add Widget list.

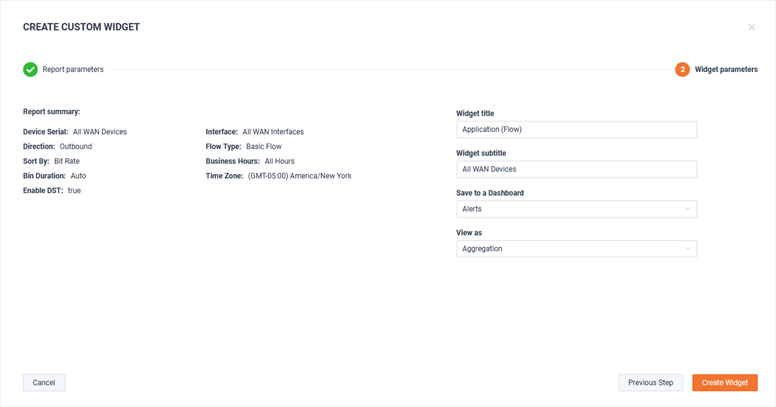
3. Follow the steps to select the underlying report that will be the basis of the widget, its parameters, and create widget.
Default widgets can be deleted by clicking the close icon at the top-right of the widget.
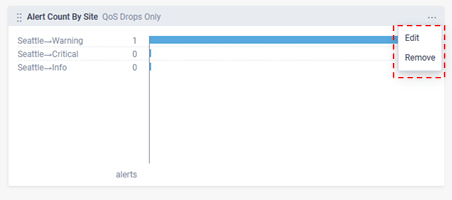
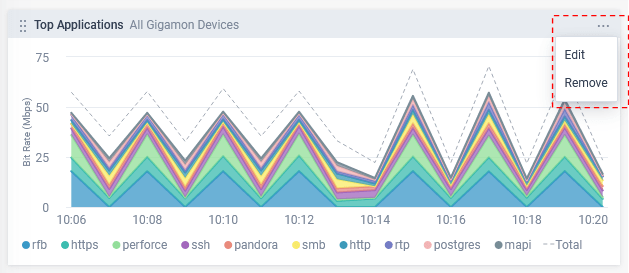
Custom widgets can be edited or removed clicking the menu icon at the top-right of the widget.
To add a new Dashboard tab, click the add icon at the top right of the page.
A new tab will appear. Select either a Default template or a Shared Dashboard. If Shared Dashboard is selected, it can either added or copied.
• Added - the original owner will retain ownership. They will continue to be able to modify the dashboard and its widgets. The current user cannot modify the shared dashboard.
• Copied – A copy of the shared dashboard will be used as a starting template and the current user will have full ownership of the dashboard and its widgets.

Below is an example of a shared dashboard.
The widget options are limited to just View.
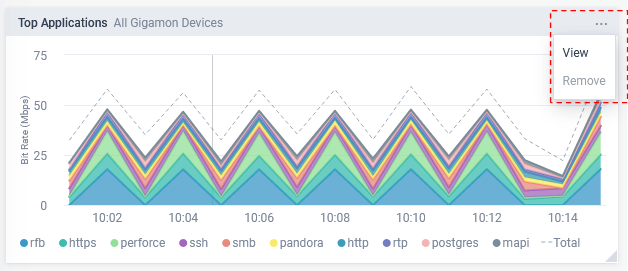

The shared dashboard can only be duplicated (copied) or deleted.
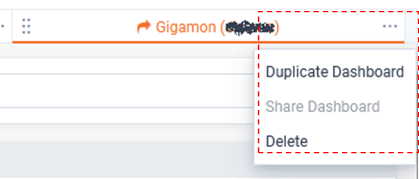
Below is the same dashboard, but in this example, it has been copied. The current user has full control over this Dashboard tab. Any changes have no effect on the original shard dashboard from the other user.
The widgets can be edited by the current user.
The dashboard can be duplicated, shared, or deleted.
To create a new Dashboard tab from scratch, select Custom Dashboard when adding a new dashboard tab.
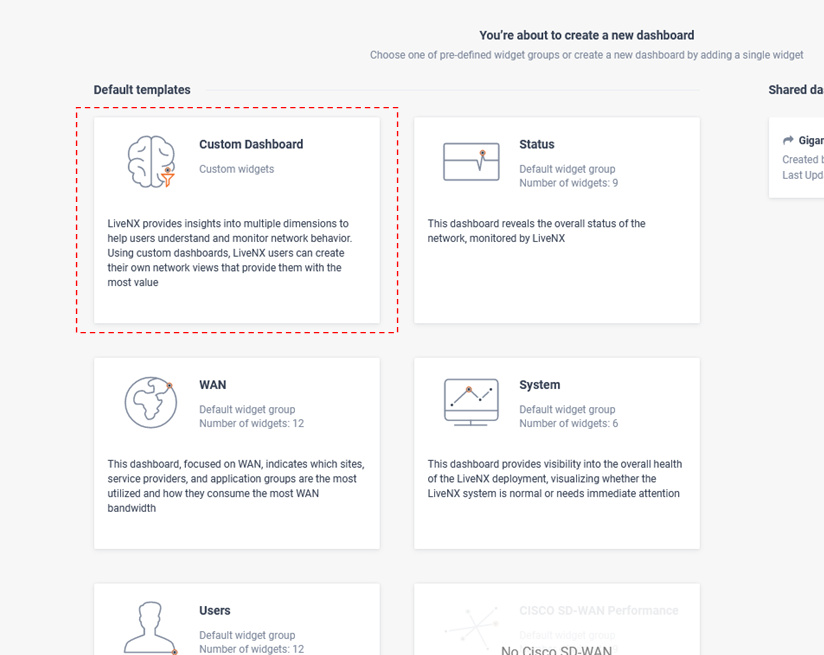
Select a default or custom widget.
The new dashboard will appear with the new widget.
The name of the new dashboard will be New Tab. To rename the tab, click the tab’s name and edit.


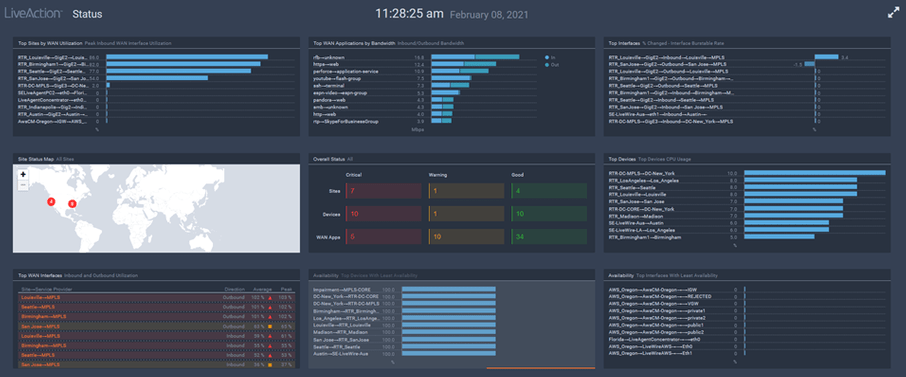
Dashboards can be presented in a dark background format for presenting on a wallboard.